
🛒 What You’ll Need: Pantry Staples, Maximum Joy
Grab these cozy ingredients—you probably already have most:
For the Crust:
3 cups (360g) all-purpose flour
1 tsp salt
1 cup (2 sticks / 225g) cold unsalted butter, cubed
½ cup (120ml) ice water (plus more if needed)
👉 Or use 2 store-bought pie crusts to save time!
For the Filling:
6 cups (about 6 medium) peeled, cored, and thinly sliced apples
→ Use Honeycrisp, Granny Smith, or Braeburn for best texture
¾ cup (150g) granulated sugar
¼ cup (50g) brown sugar
2 tbsp all-purpose flour
1½ tsp ground cinnamon
¼ tsp nutmeg (optional but delicious!)
1 tsp lemon juice (keeps apples bright and adds zing)
1 tsp vanilla extract
For the Finish (Optional):
Egg wash: 1 egg + 1 tbsp water (for golden shine)
Coarse sugar (for sparkle!)
Vanilla ice cream or whipped cream (because yes)
That’s it.
No corn syrup.
No gelatin.
Just real food, baked into brilliance.
💡 Pro tip: Toss apples in lemon juice right after slicing to prevent browning.
🔥 How to Make It: Step-by-Step, Slice-by-Slice
Let’s cook this like we’re making edible sunshine—one golden square at a time.
Step 1: Preheat & Prep
Preheat oven to 375°F (190°C).
Grease a 10×15-inch jelly roll pan or line with parchment paper.
Step 2: Make the Crust
In a food processor or bowl:
Mix flour and salt.
Cut in cold butter until mixture resembles coarse crumbs.
Gradually add ice water, 1 tbsp at a time, until dough comes together.
Divide in half—1 slightly larger than the other.
👉 Wrap and chill 15 mins (optional, but helps with handling).
Step 3: Roll & Line
On a floured surface, roll the larger half into a rectangle ~12×17 inches.
Carefully transfer to prepared pan, pressing gently into corners.
Trim excess or fold over edges for a rustic look.
Step 4: Make the Filling
In a large bowl:
[object NodeList]
Toss apples, sugars, flour, cinnamon, nutmeg, lemon juice, and vanilla until evenly coated.
👉 Let sit 10 mins—this draws out juices and enhances flavor.
Step 5: Fill & Top
Spread apple mixture evenly over bottom crust.
Roll out the second dough piece to match size.
Place over filling. Crimp edges with a fork or pinch to seal.
Cut 4–5 slits in the top to vent steam.
Step 6: Glaze & Bake
Brush top with egg wash (optional).
Sprinkle with coarse sugar (highly recommended!).
Bake 35–45 minutes, until crust is golden brown and filling is bubbling.
👉 Tent with foil halfway through if browning too fast.
Step 7: Cool & Serve
Let cool at least 30 minutes—this sets the filling.
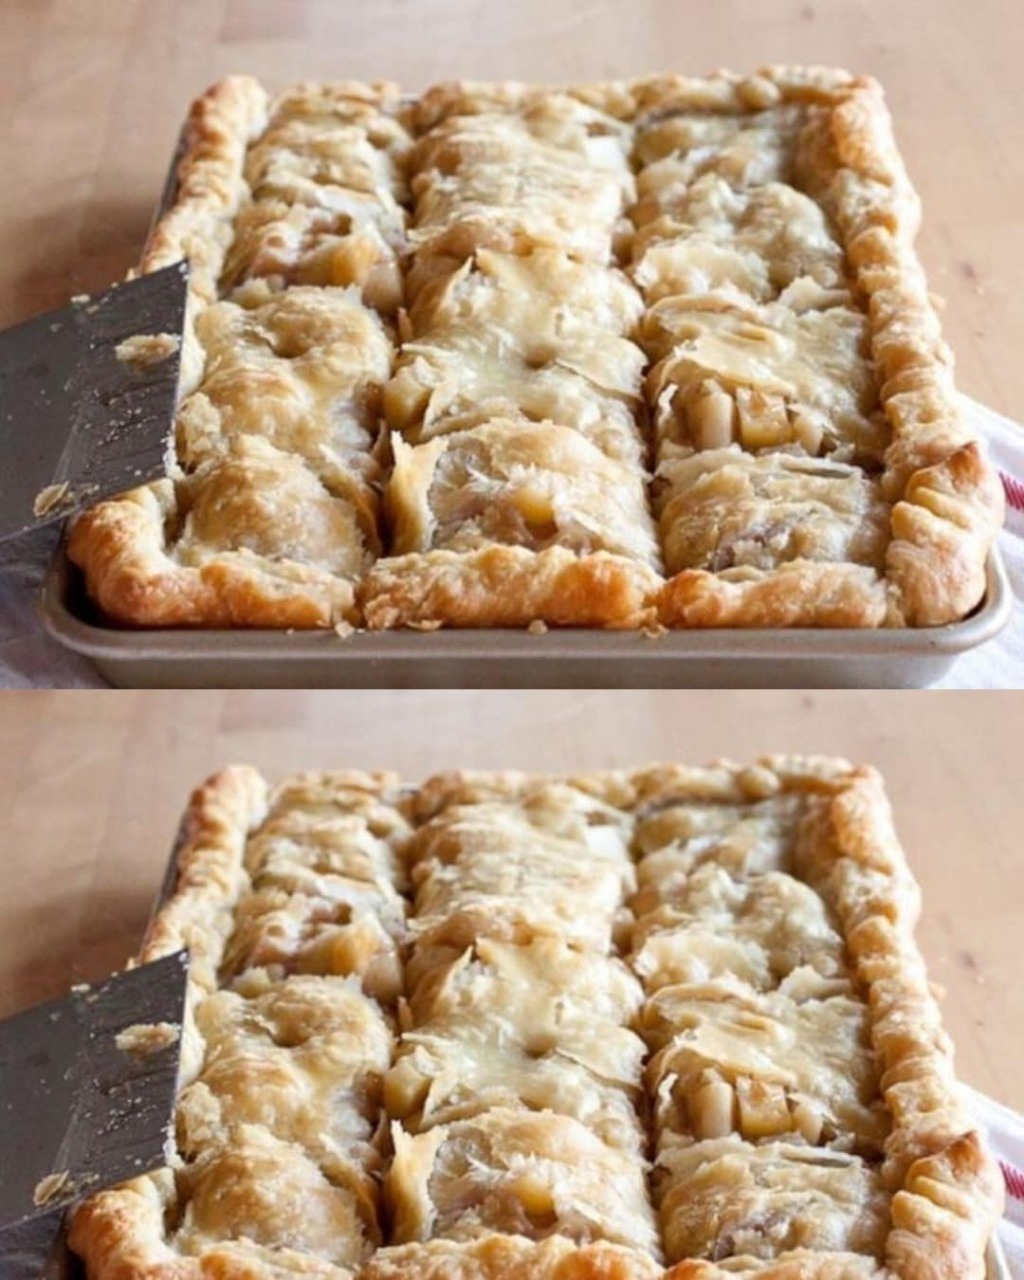
Cut into rectangles or squares with a sharp knife.
Serve warm—with a scoop of vanilla ice cream.
Because life is short. And apple pie is eternal.
Bonus: Leftovers keep beautifully for 3–4 days covered at room temp—or freeze for 3 months!
💡 Pro Tips for Next-Level Success
Tip
Why It Works
✅ Use cold butter
Creates flakier crust
✅ Don’t skip chilling
Easier to roll, less shrinkage
✅ Drain excess juice before baking? No—juices thicken as it bakes
✅ Make ahead: Assemble unbaked; refrigerate overnight
Bake fresh when ready
✅ Freeze it: Cool completely, wrap tightly, freeze
Thaw and reheat at 325°F
🍽️ When to Serve These Golden Gems
🍂 Fall harvest dinners
🦃 Thanksgiving (a must-have alternative to pumpkin!)
🎉 Church potlucks and bake sales
🫶 To someone who says, “I don’t eat pie” —watch them ask for seconds
Because once they taste that cinnamon-apple, flaky-crusted magic?
They’ll be converted.
❤️ Final Thought: Great Food Doesn’t Have to Be ComplicatedGroceries
You don’t need 17 ingredients or a culinary degree to make something magical.
Sometimes, all it takes is:
A few crisp apples
A stick of butter
And the courage to say: “Today, I’m baking joy.”
And when your partner says, “Did you get this from a bakery?”
Or your kid hugs you after the first bite…
You’ll know:
You didn’t just make pie.
You made love.
